
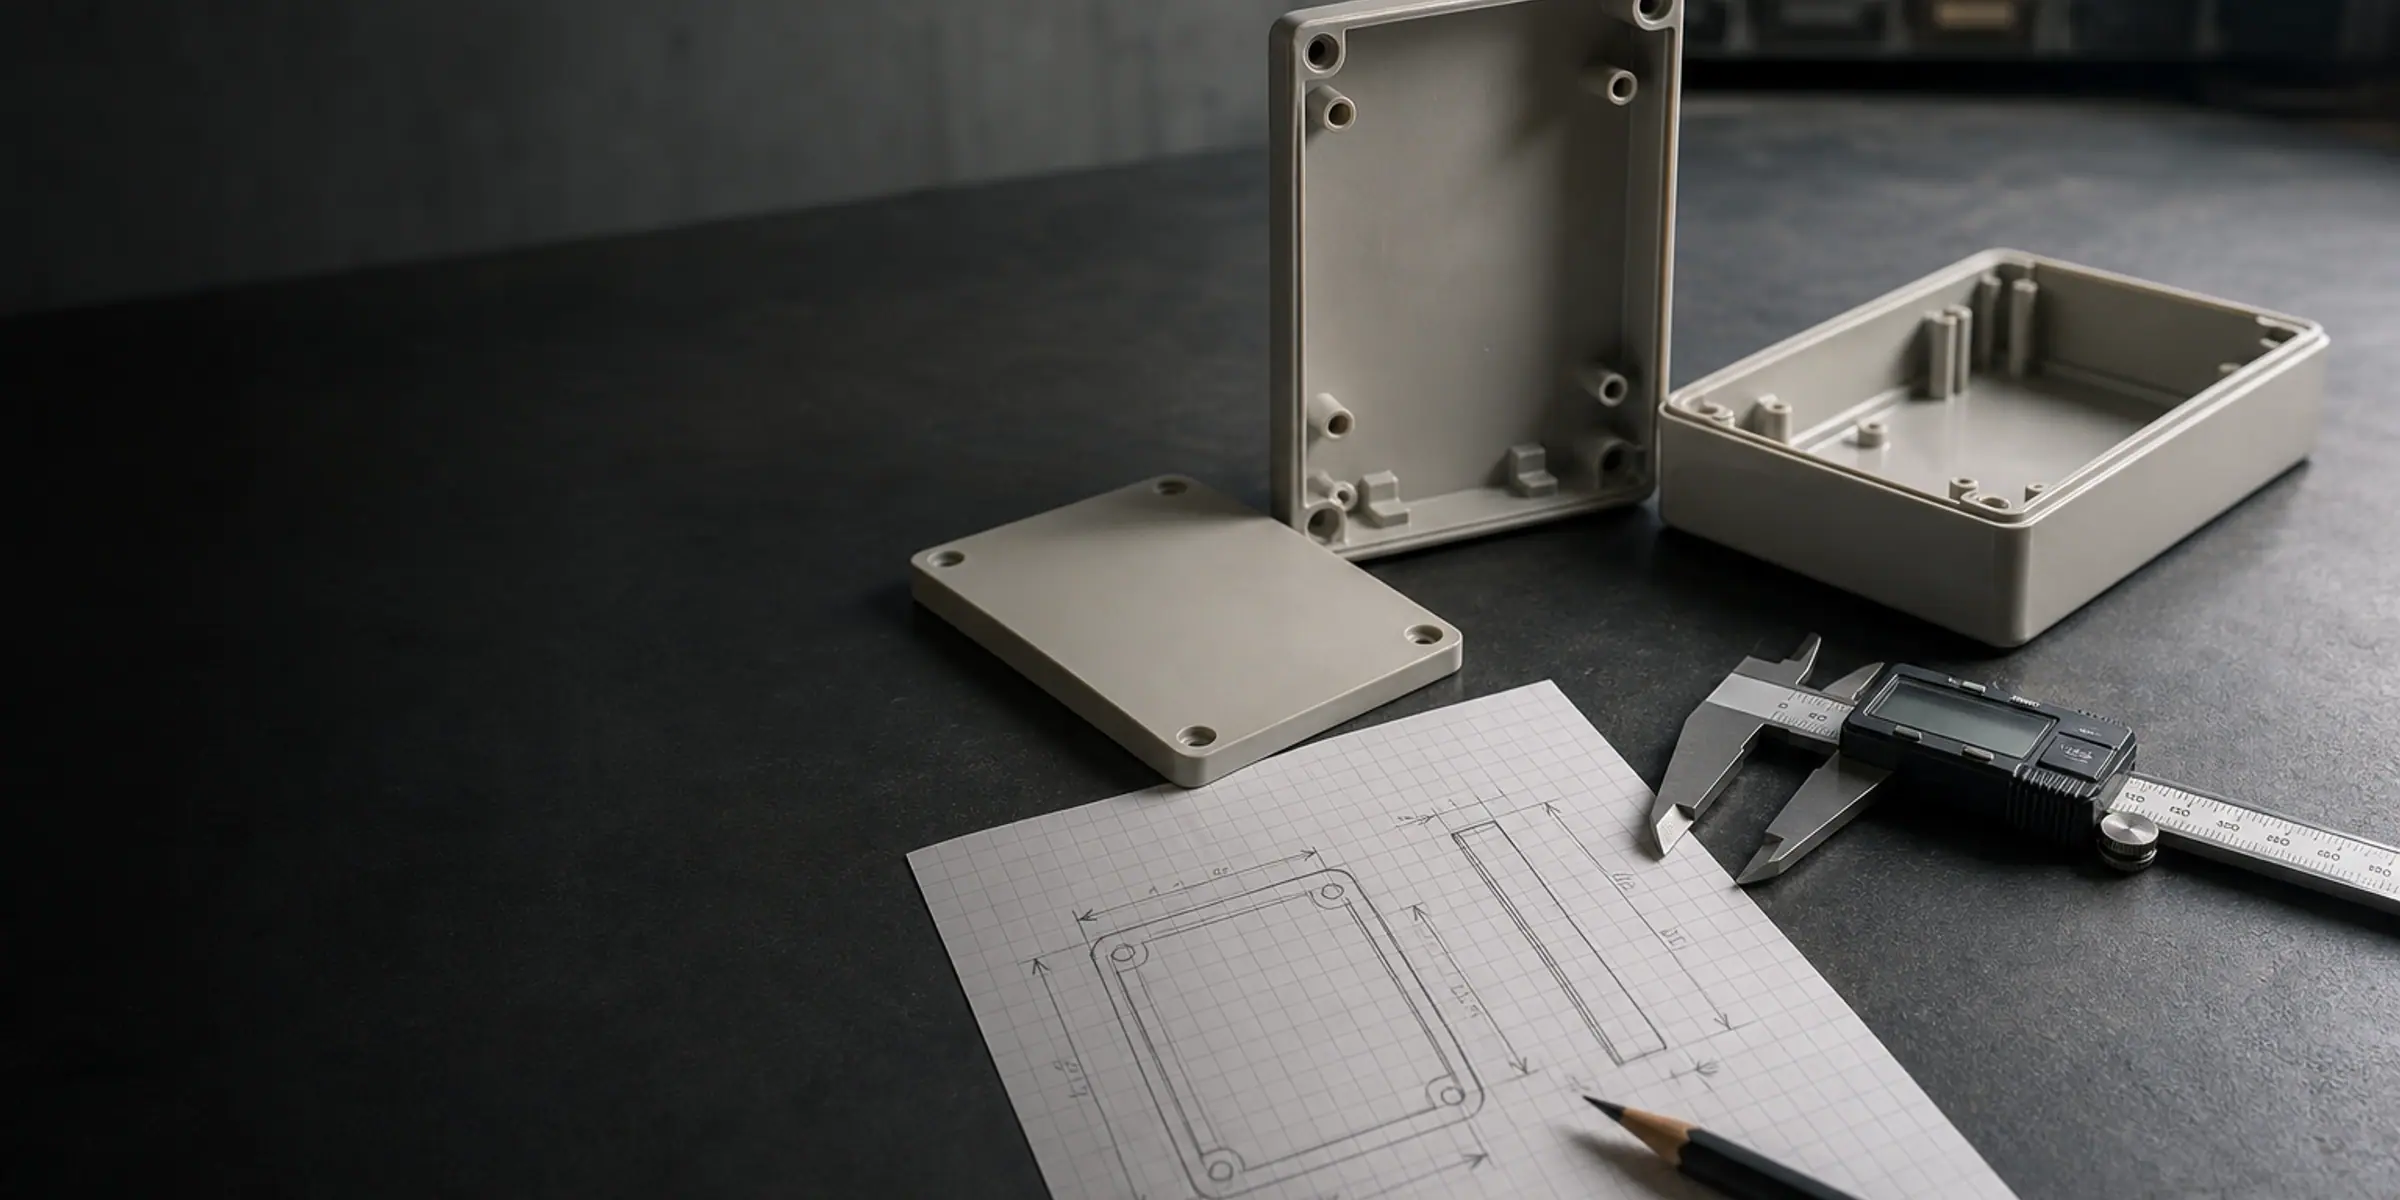
Custom 3D Modeling for 3D Printing
Custom 3D Models That Are Built to Print.
Send us a photo, sketch, measurements, broken part, existing file, or just an idea. We turn it into clean, print-ready CAD — then print and ship the prototype if you need it. You do not need to own a CAD file, a scanner or any design software to start. Most projects arrive as a phone photo of a broken part, a hand-drawn sketch with a few dimensions on it, or an STL that will not slice. We look at what you send, tell you what is missing, and confirm the approach before any modelling starts.
Multi-part models, multi-module assemblies, reverse engineering, complex surfaces, color preparation, rendering, engineering consultation, prototype printing and production are quoted separately.
One-part jobs are welcome. Modeling-only is welcome. Start with one photo and one approximate dimension.
01
Reply target: within 3 hours
02
Standard projects: 2–8 business days
03
Editable CAD available
04
Optional prototype printing
05
Confidential project handling
What happens to the thing in your hand
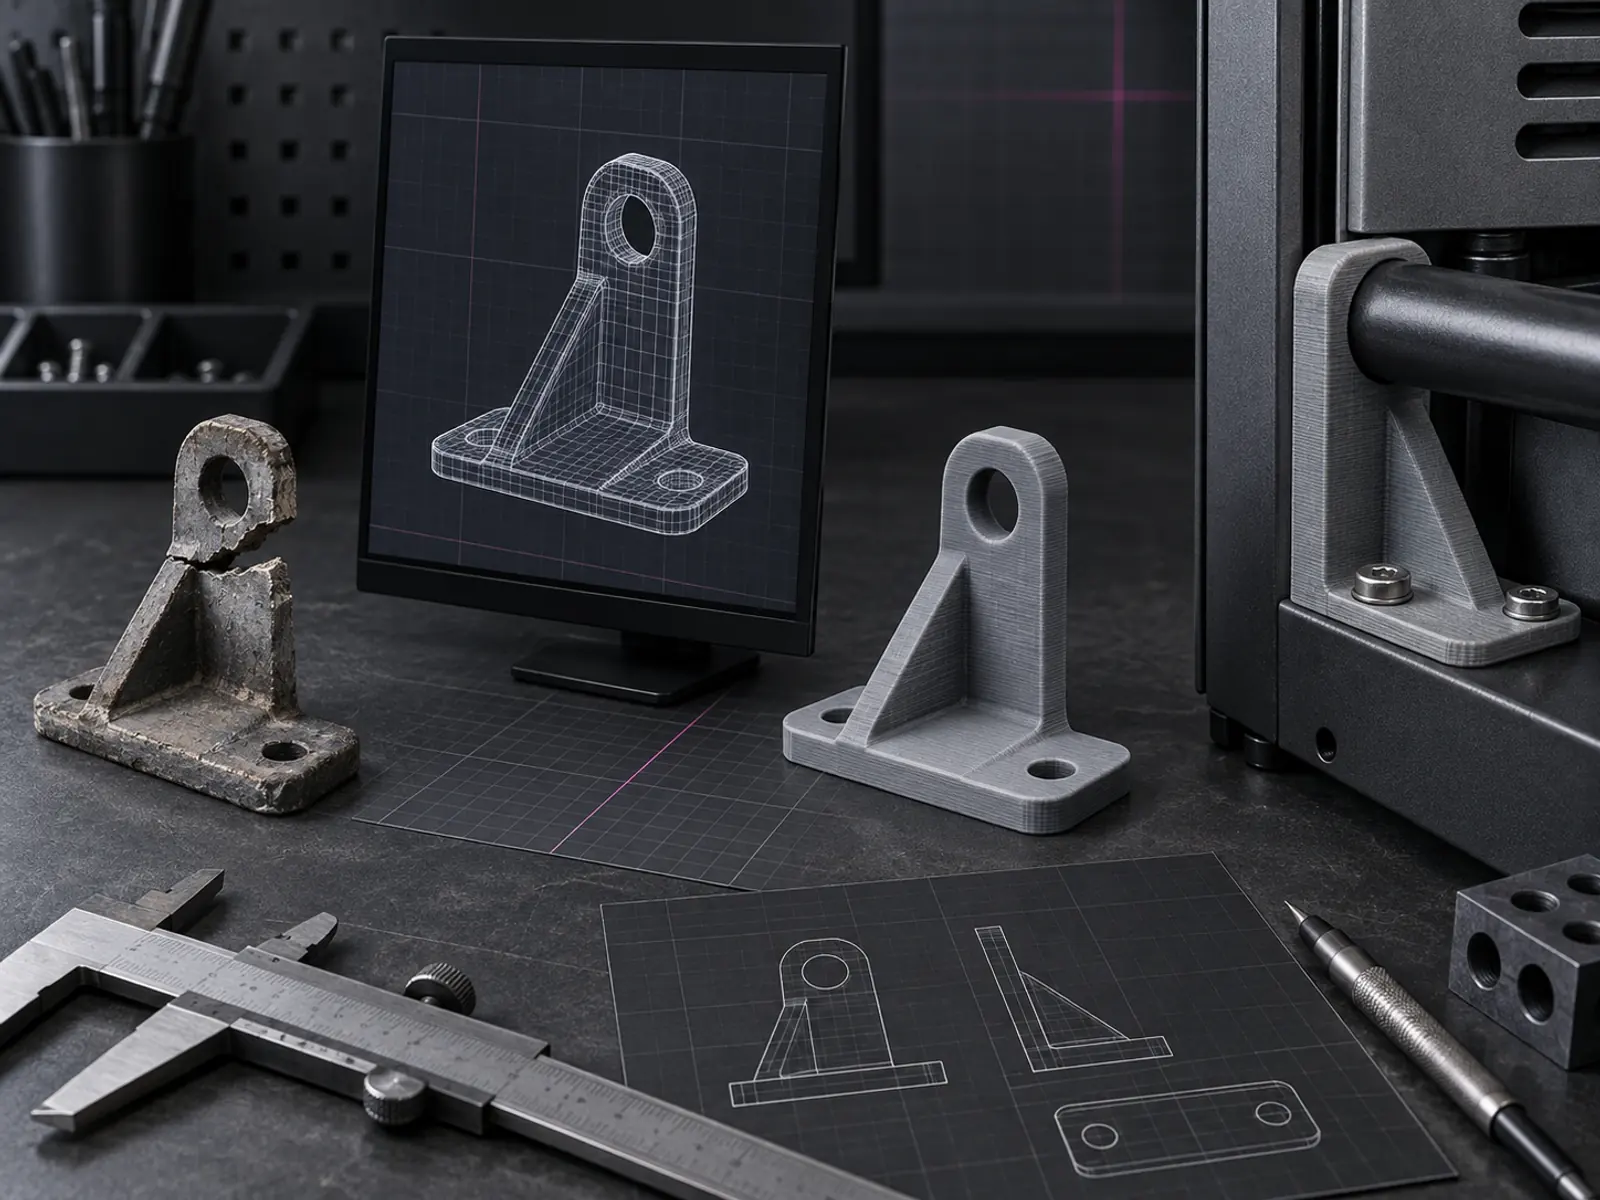
Every project follows the same five stages: the input you send, the CAD model built to print, the sliced file with its supports and orientation, the printed part, and the part working in its final position. The last stage is the only one that proves the model was right — which is why we treat the fit as part of the modelling job, not as someone else's problem.

01Your photo or broken part

02CAD model
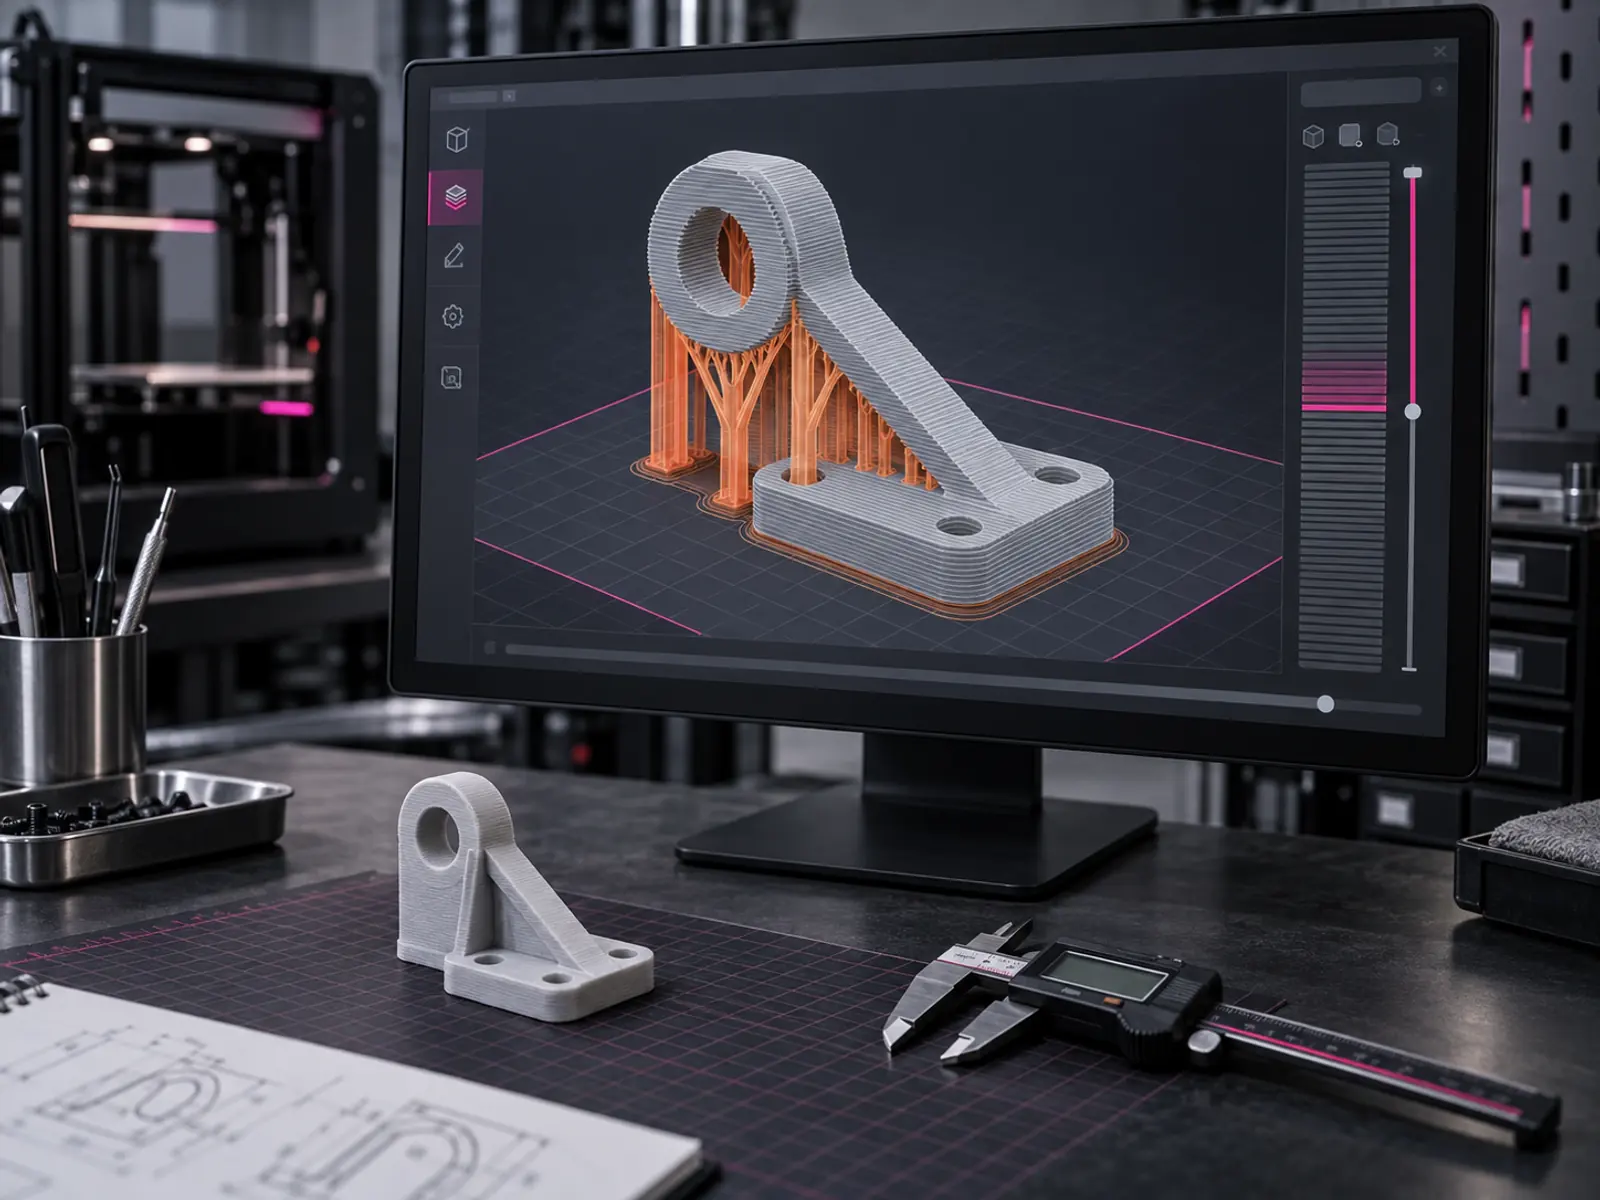
03Sliced for printing

04Printed part

05Fitted and working
Start where you are
What do you have right now?
You do not have to know which service you need, and you do not have to know what a NURBS surface or a DFM review is. Start from what is actually in your hand and we will take it from there.
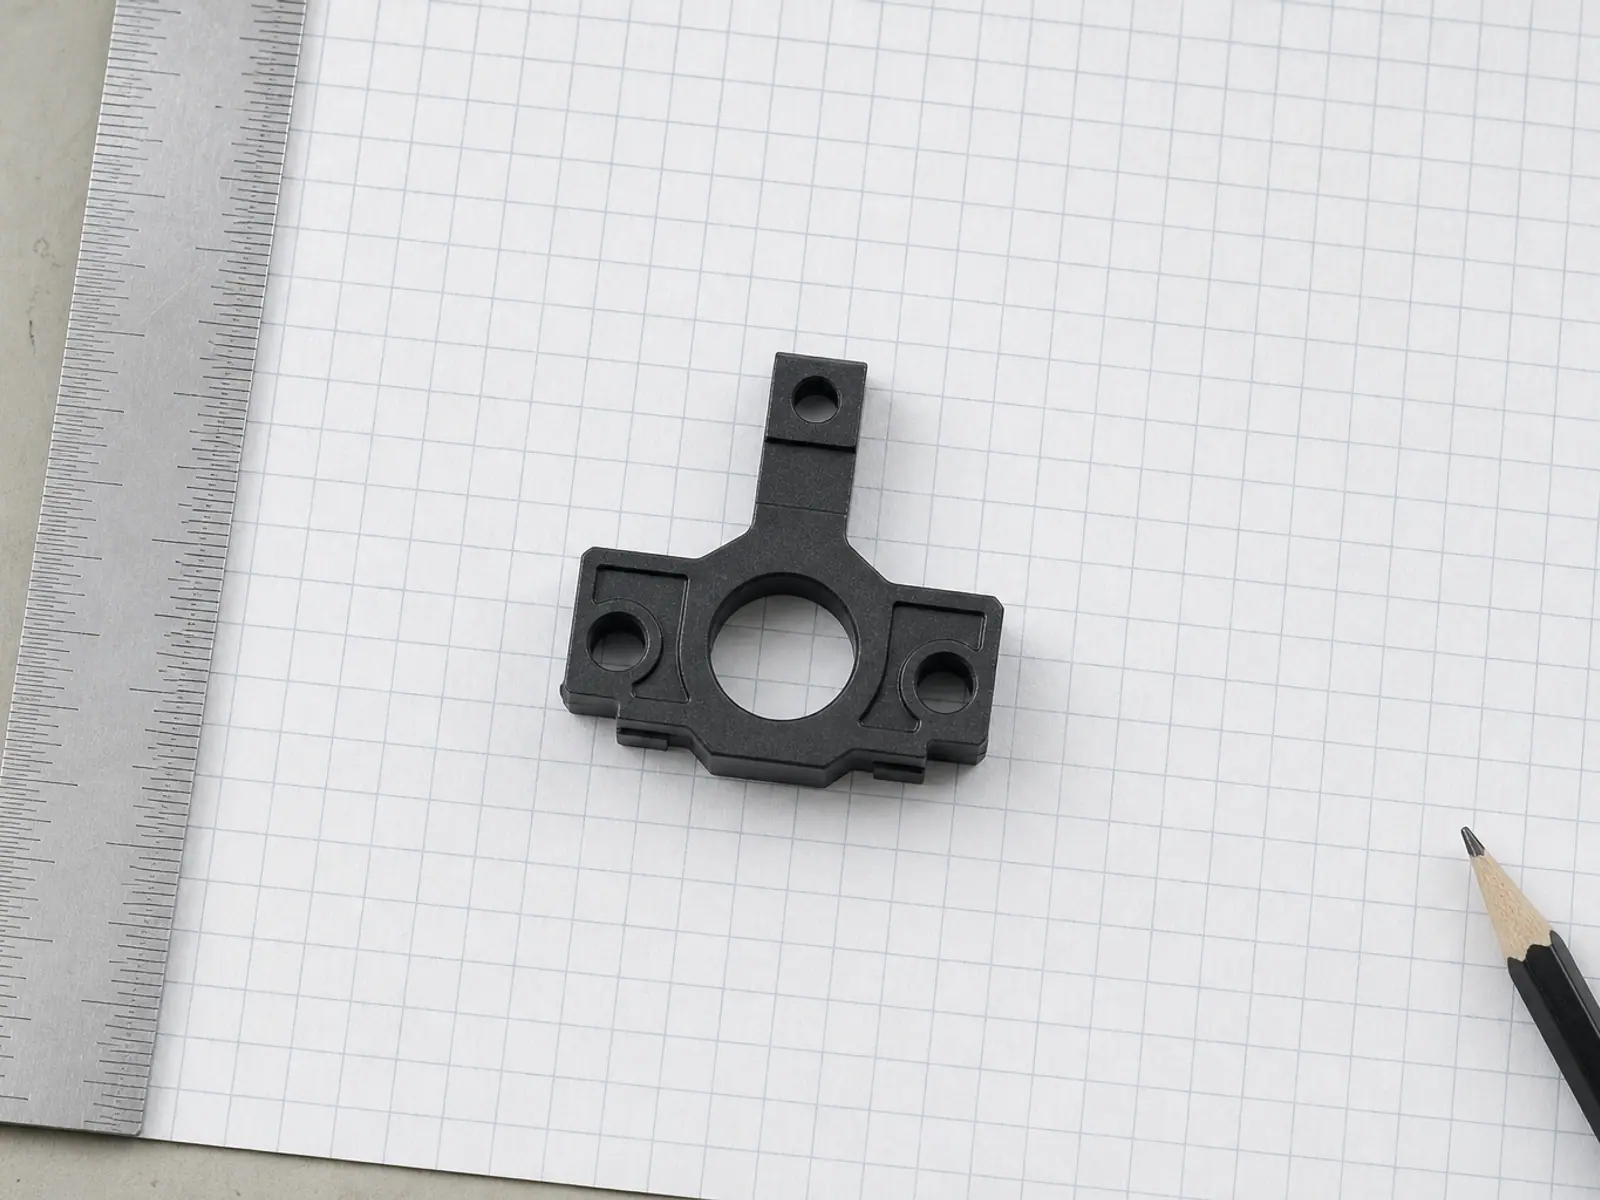
I have photos
Phone photos of the part from a few angles, with something in frame for scale. We work out the geometry from them and ask about anything a photo cannot show.
Read more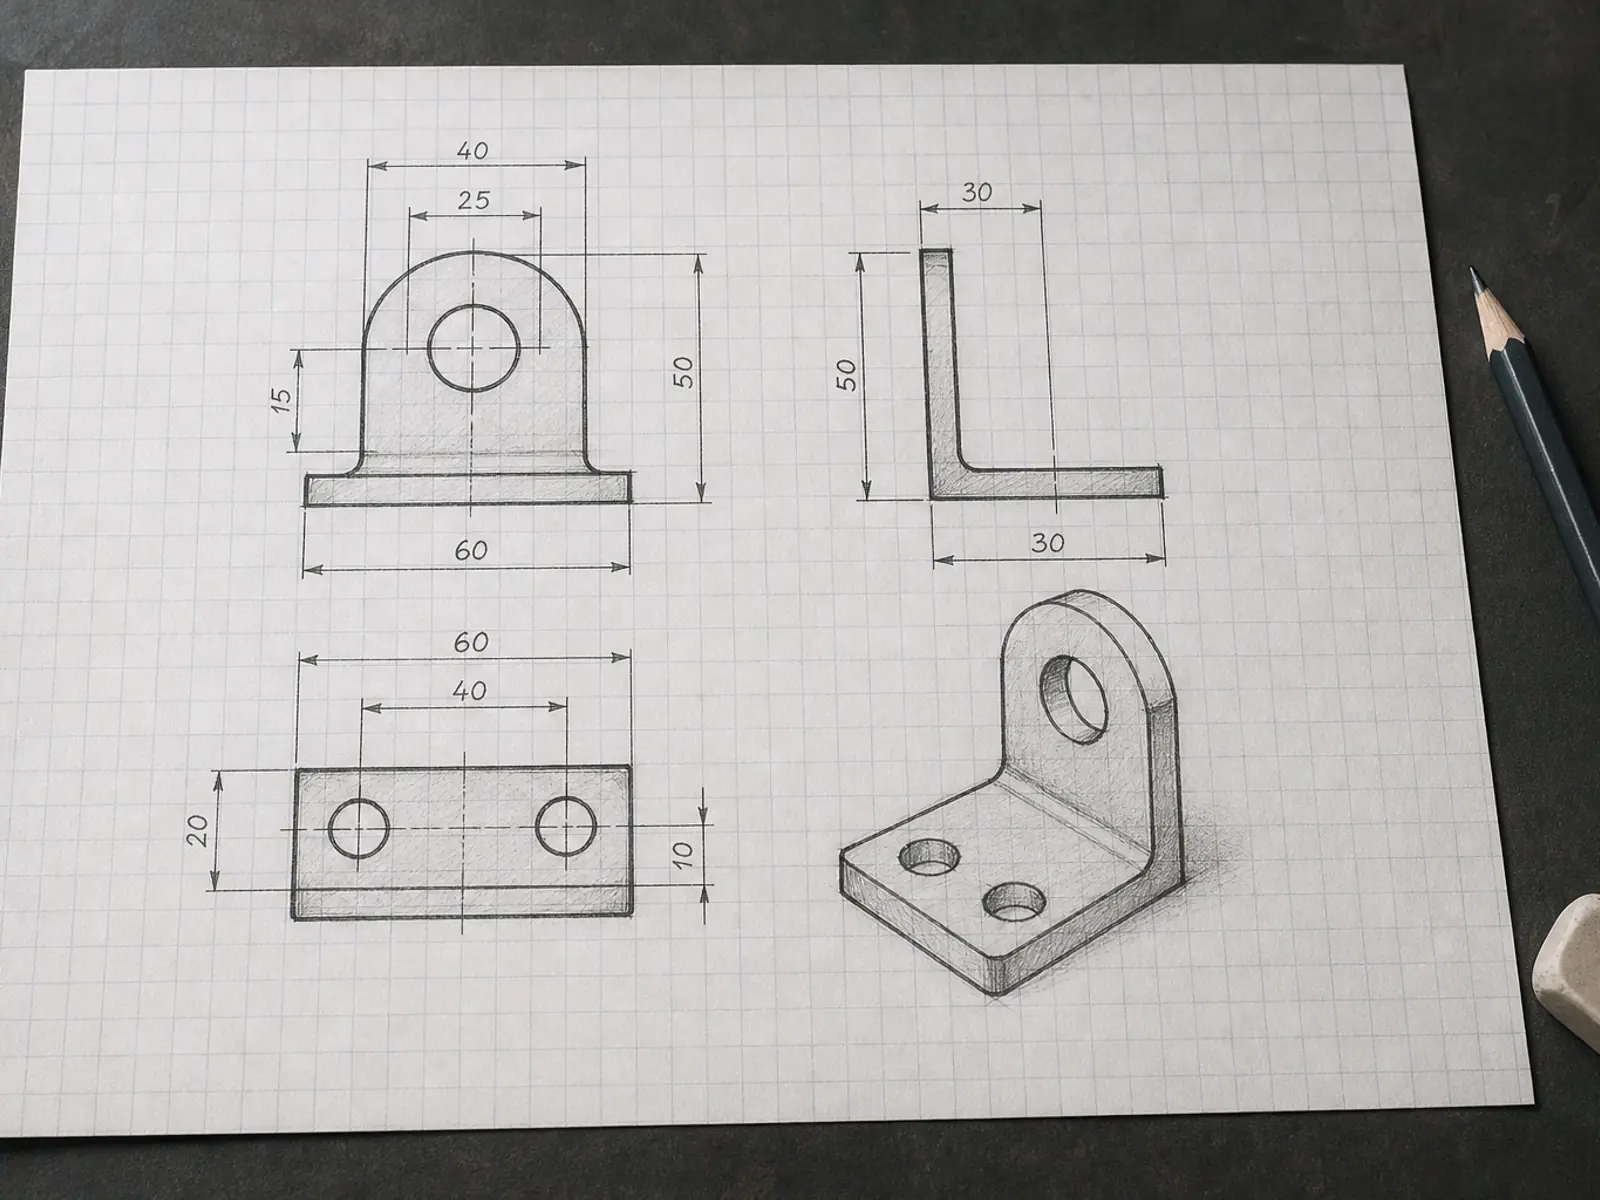
I have a sketch
A hand drawing with a few dimensions on it is enough to start. We confirm which measurements actually matter before any modelling begins.
Read more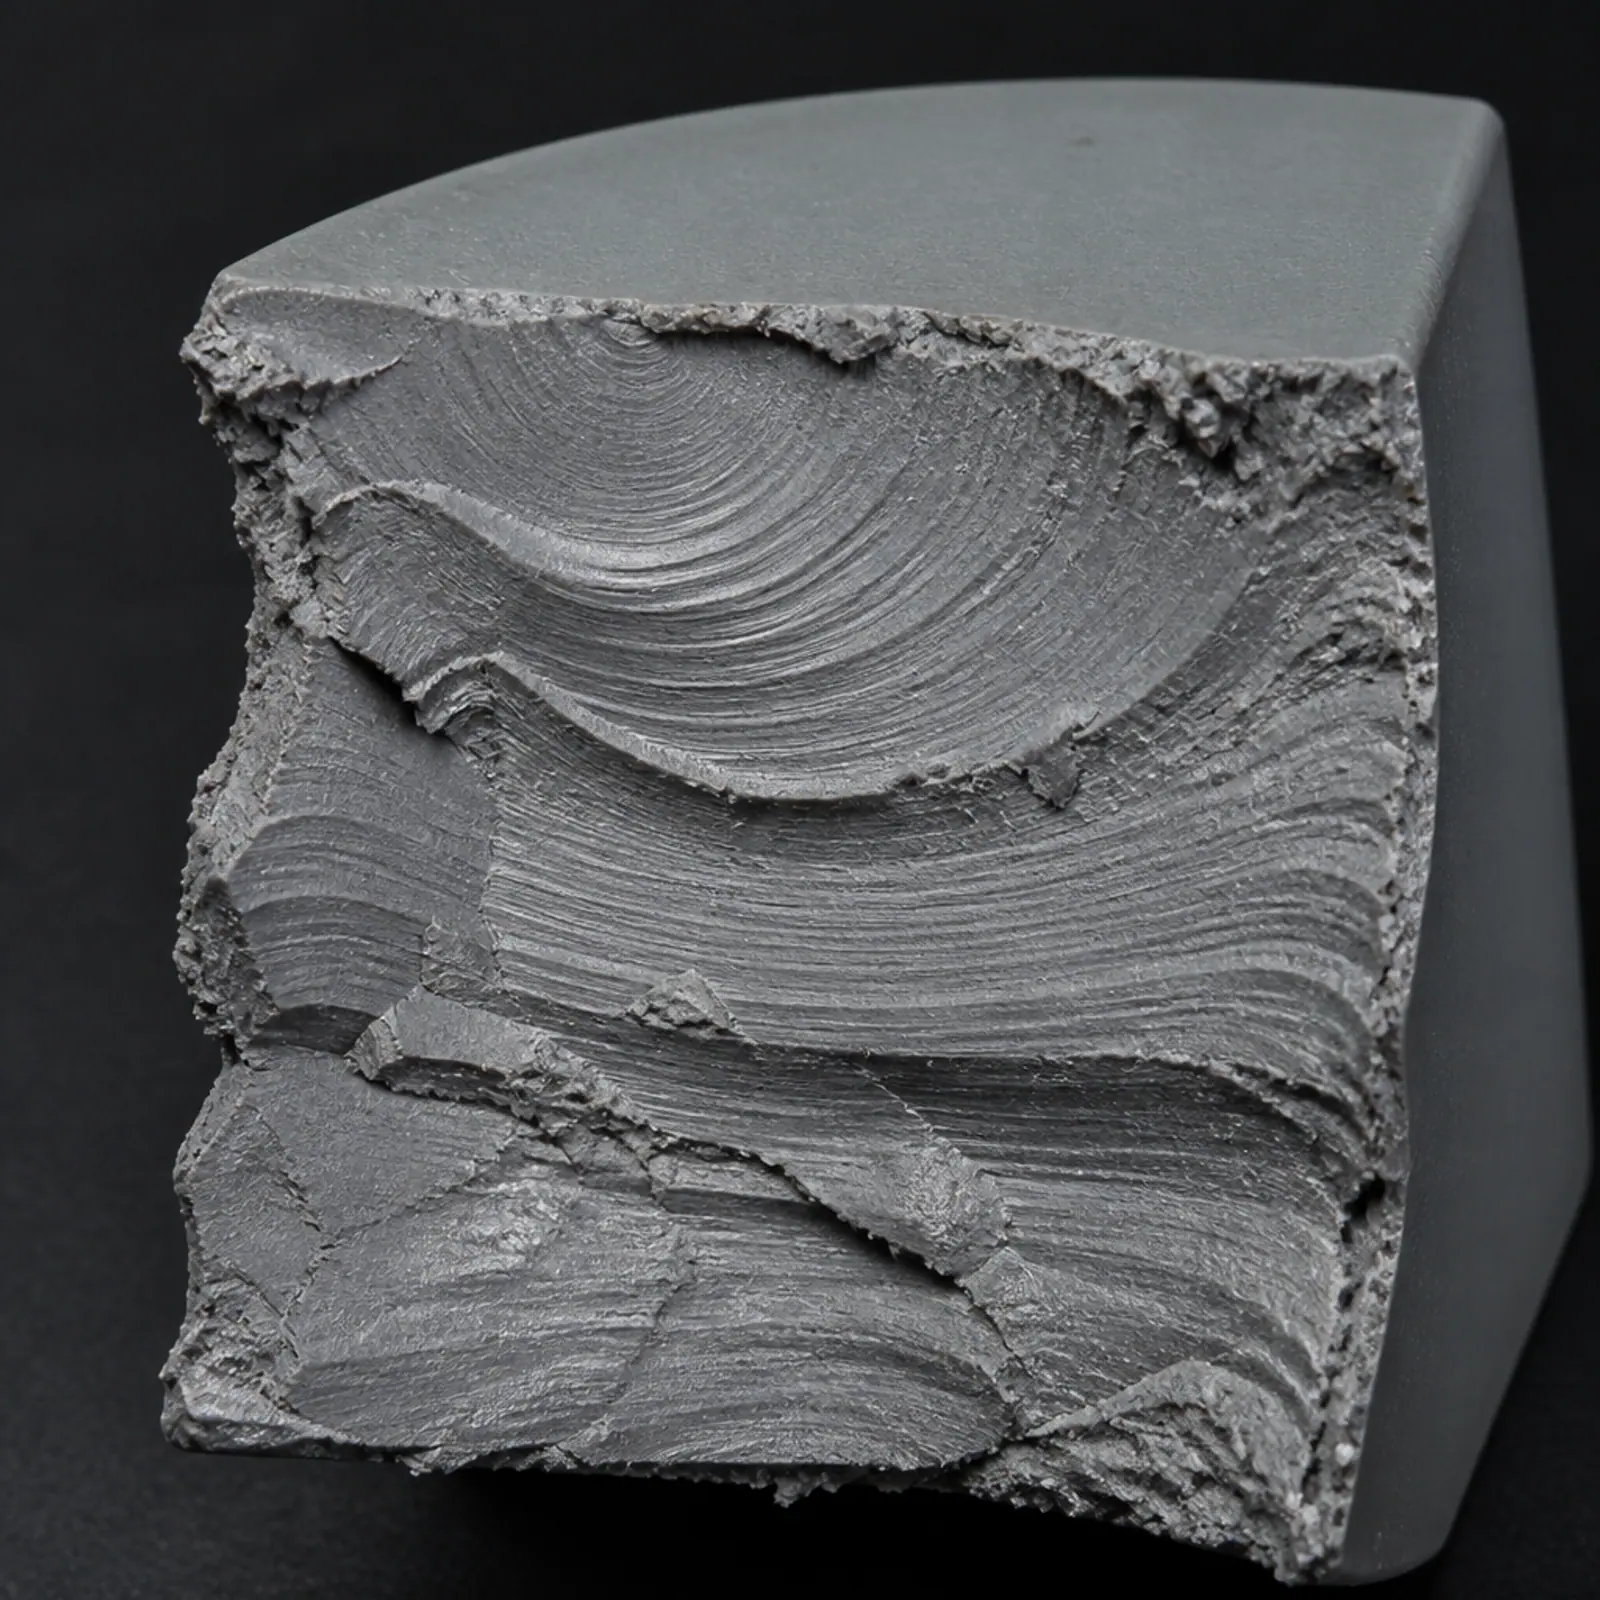
I have a broken part
The most common job we take on. Photograph the break, measure what you can reach, and keep the pieces — the fracture shows how the part was loaded.
Read more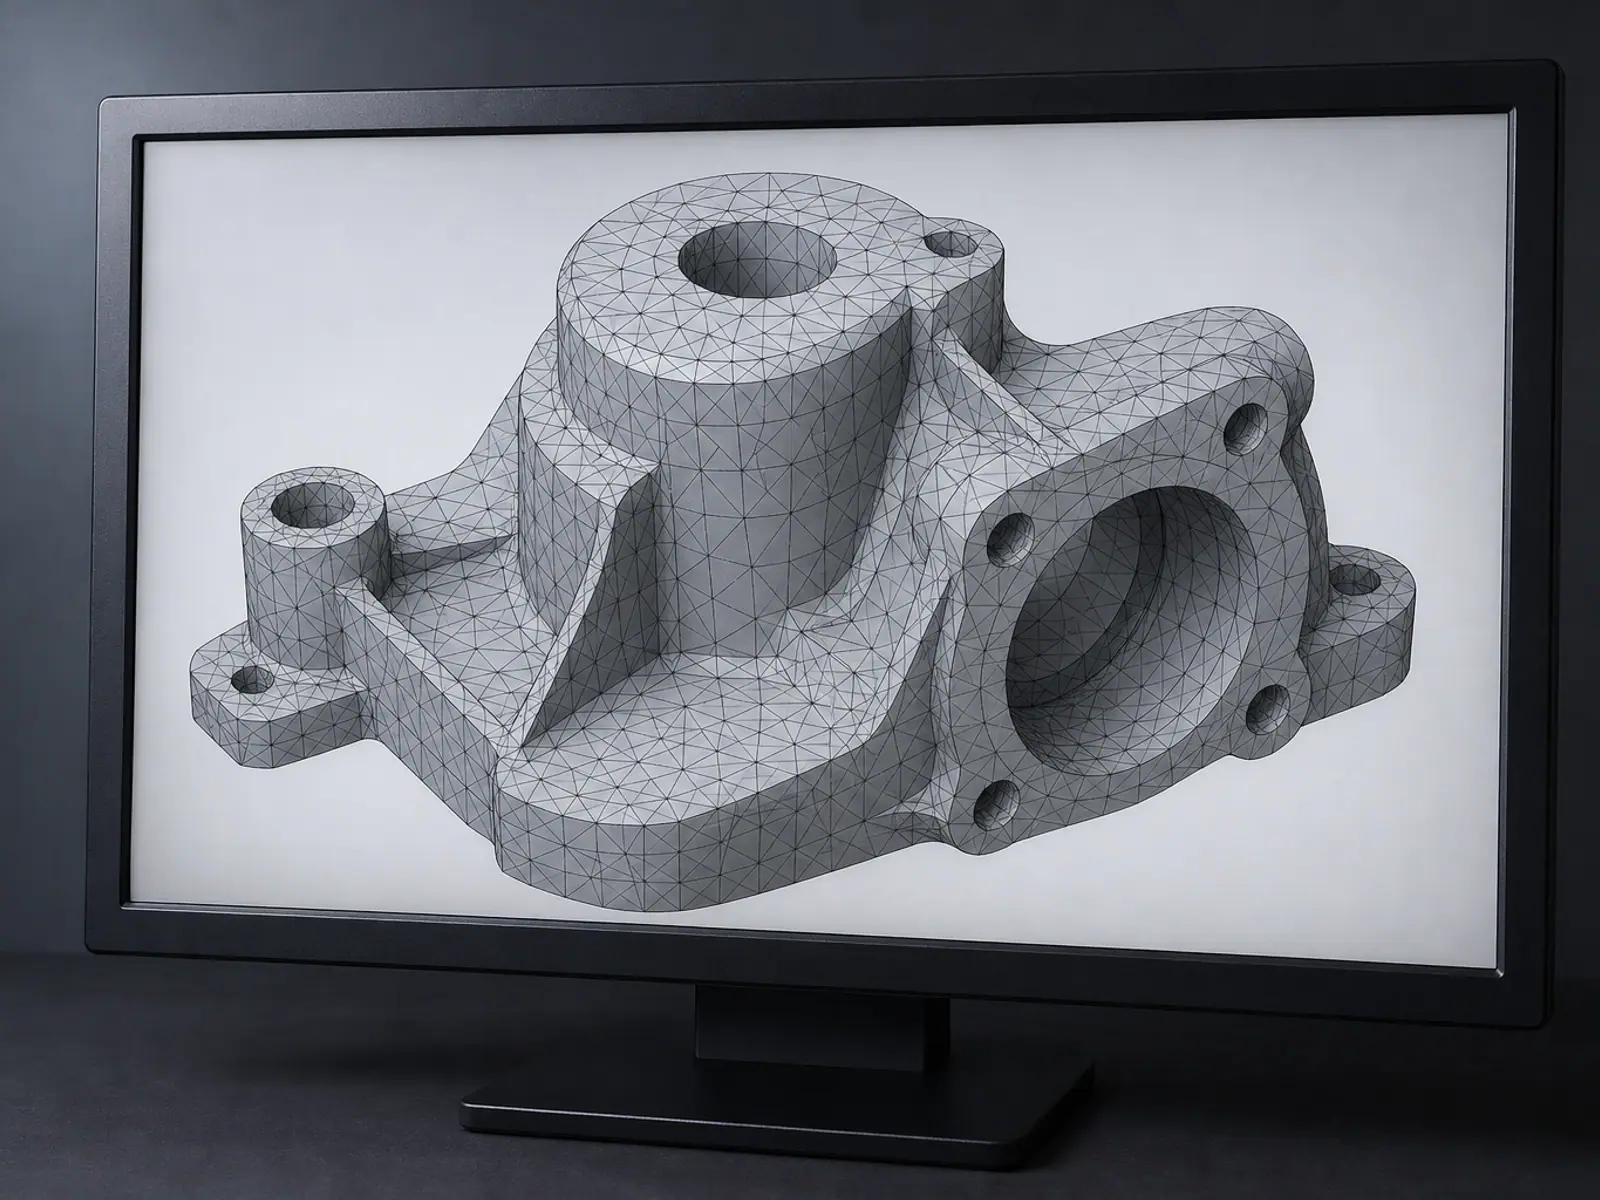
I have an STL or 3D file
A mesh that will not slice, has holes or flipped faces, or needs converting into a solid model you can actually edit and dimension.
Read more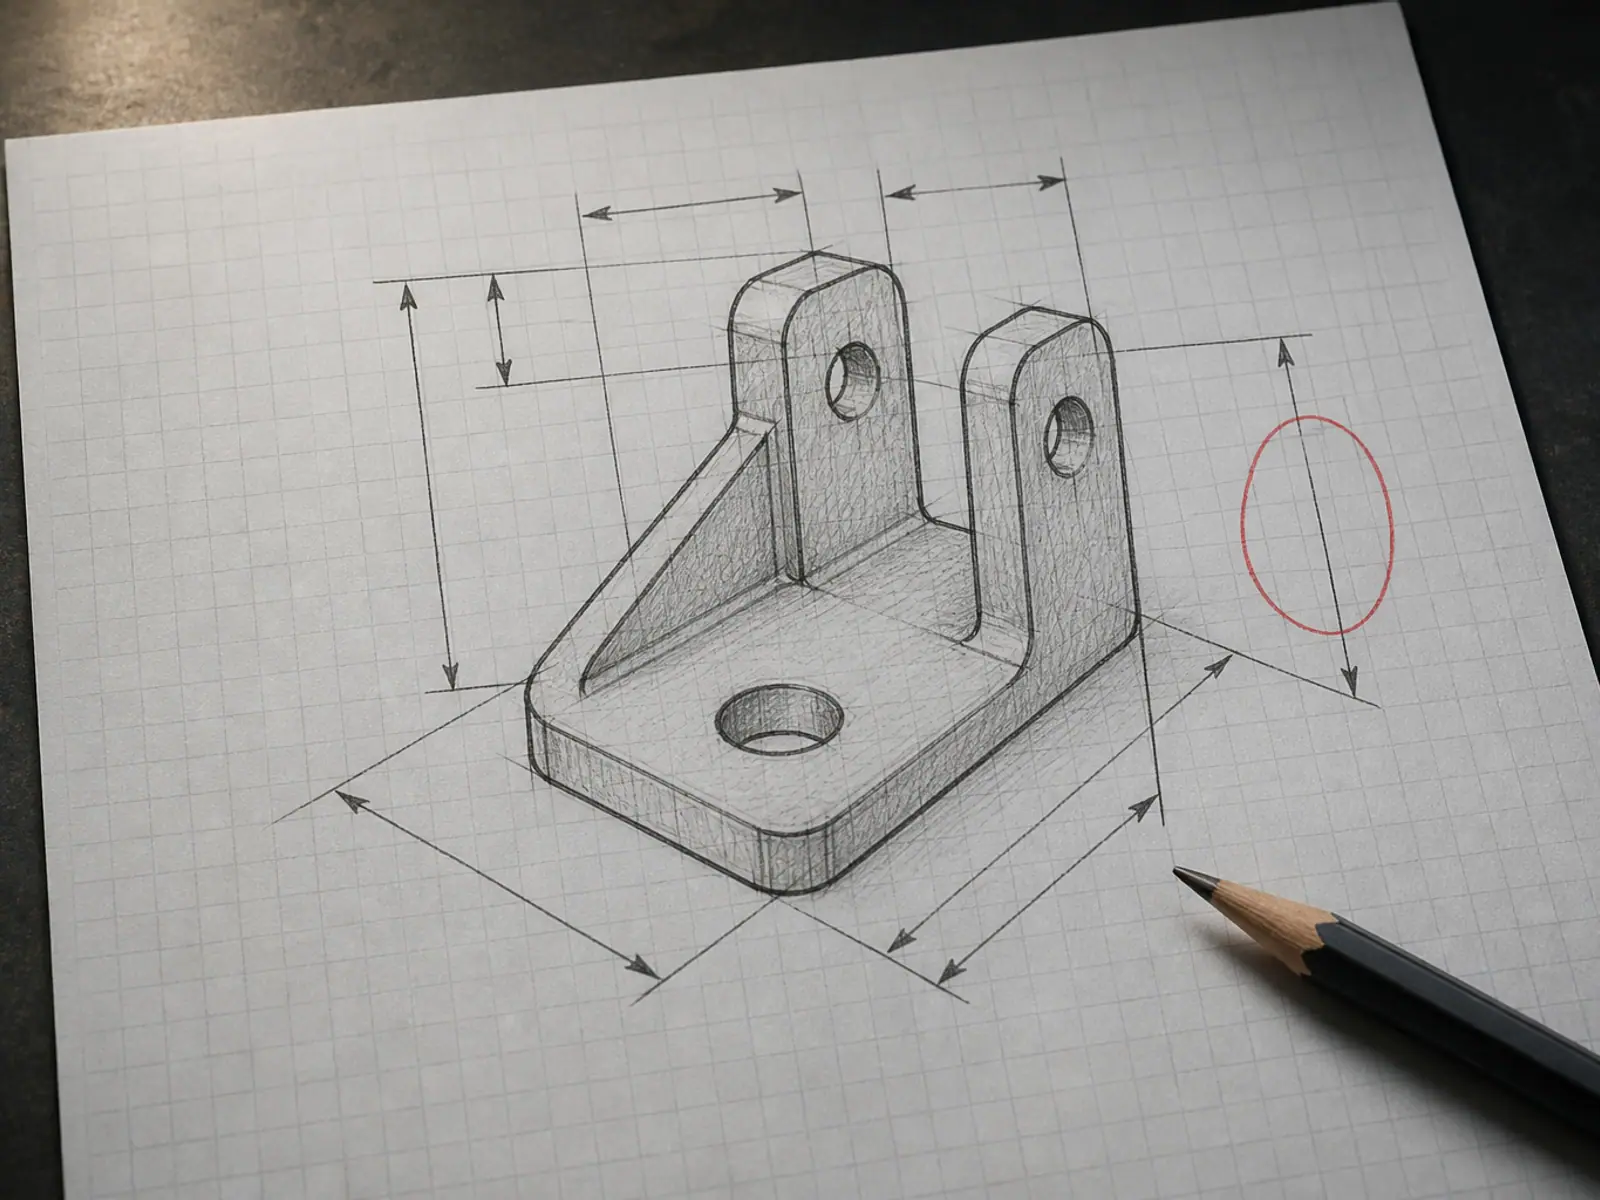
I only have an idea
Describe what it has to do and the space it has to fit into. We turn that into a first concept you can react to, and revise from there.
Read moreWhat we do
Modelling work we take on
One discipline — turning physical things and rough information into usable 3D data — applied to the eight job types that come up most often.
3D Modeling for 3D Printing
Solid models built for the print process: correct wall thickness, printable orientations, tolerances that actually assemble.
Read more02Replacement Part CAD
Discontinued or unbuyable parts rebuilt from the broken original, measured against the parts they mate with.
Read more03Reverse Engineering
Physical part to CAD: measurement, scan data or a combination of both, turned into a model with real dimensions.
Read more04Electronics Enclosure Design
Cases for boards and assemblies: connector cut-outs, mounting bosses, wall thickness, ventilation and access.
Read more05Custom Bracket Design
Mounts and brackets with the reinforcement in the direction the load actually comes from, not in the direction that looks tidy.
Read more06Adapter Design
Two interfaces that were never meant to meet: thread, flange, shaft or fitting, joined by one part.
Read more07STL Repair
Non-manifold edges, holes, inverted normals and zero-thickness walls fixed so the file slices and prints.
Read more083D Printing
Optional prototype printing and small batch production, once the model is approved.
Read moreWhere it gets used
Functional parts, not display models
These are the kinds of parts that have to hold something, fit something or carry a load. Decorative models are welcome too, but this list is what the work is usually about.
PRODUCT STORIES / START HERE
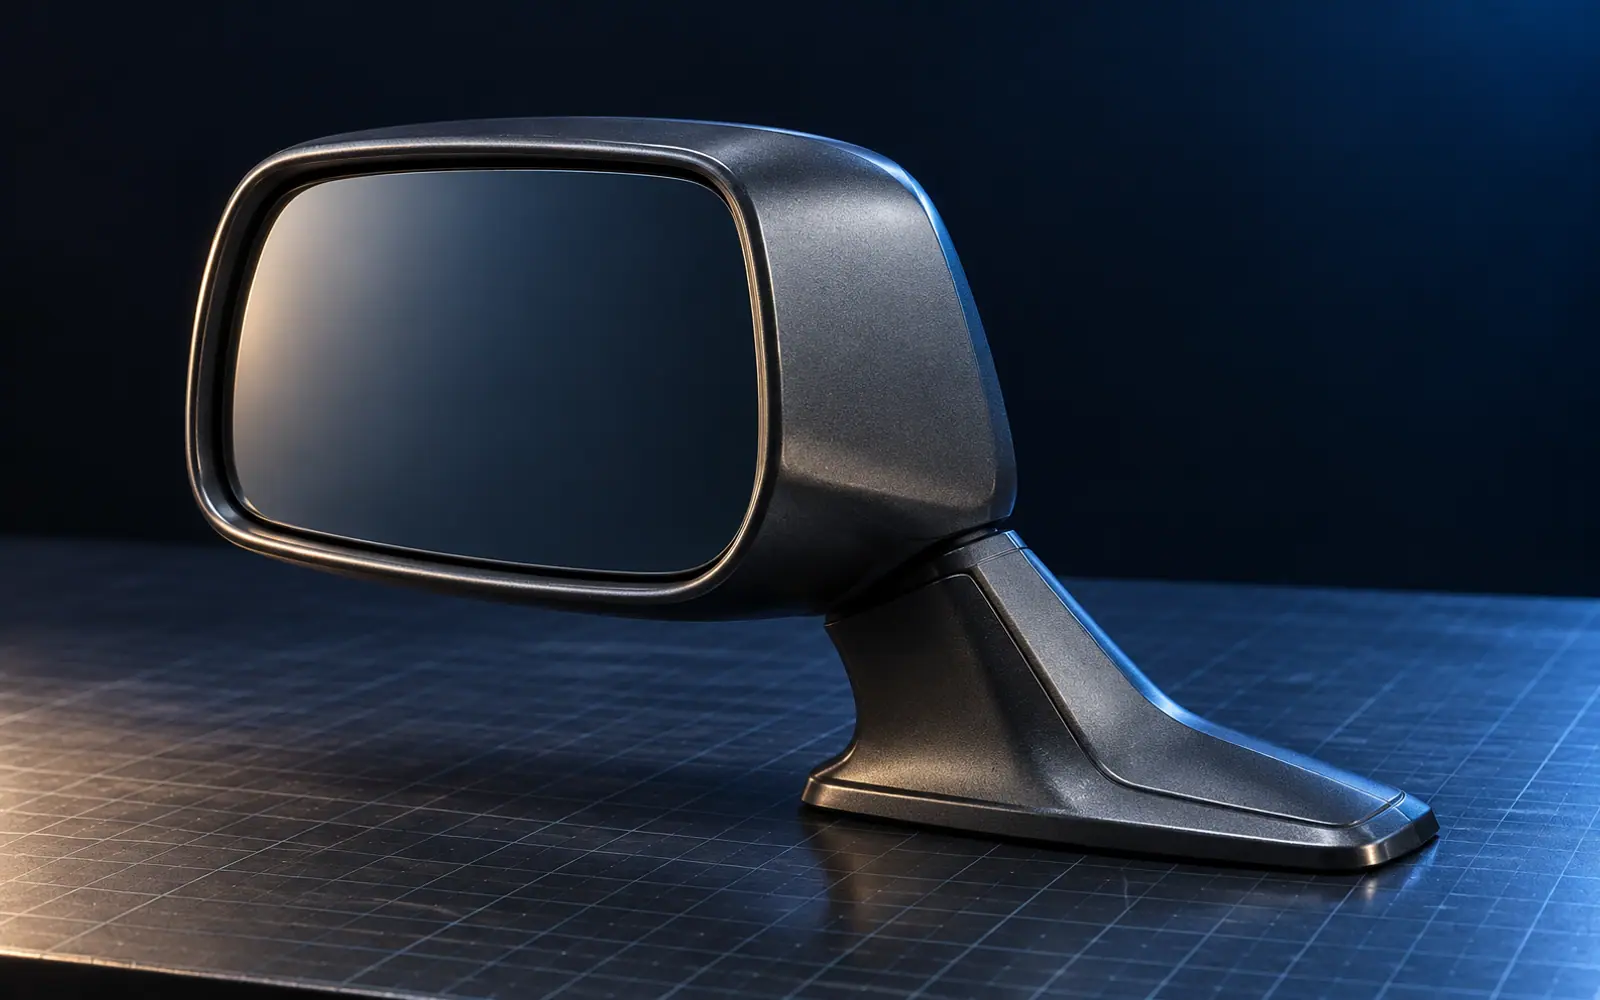
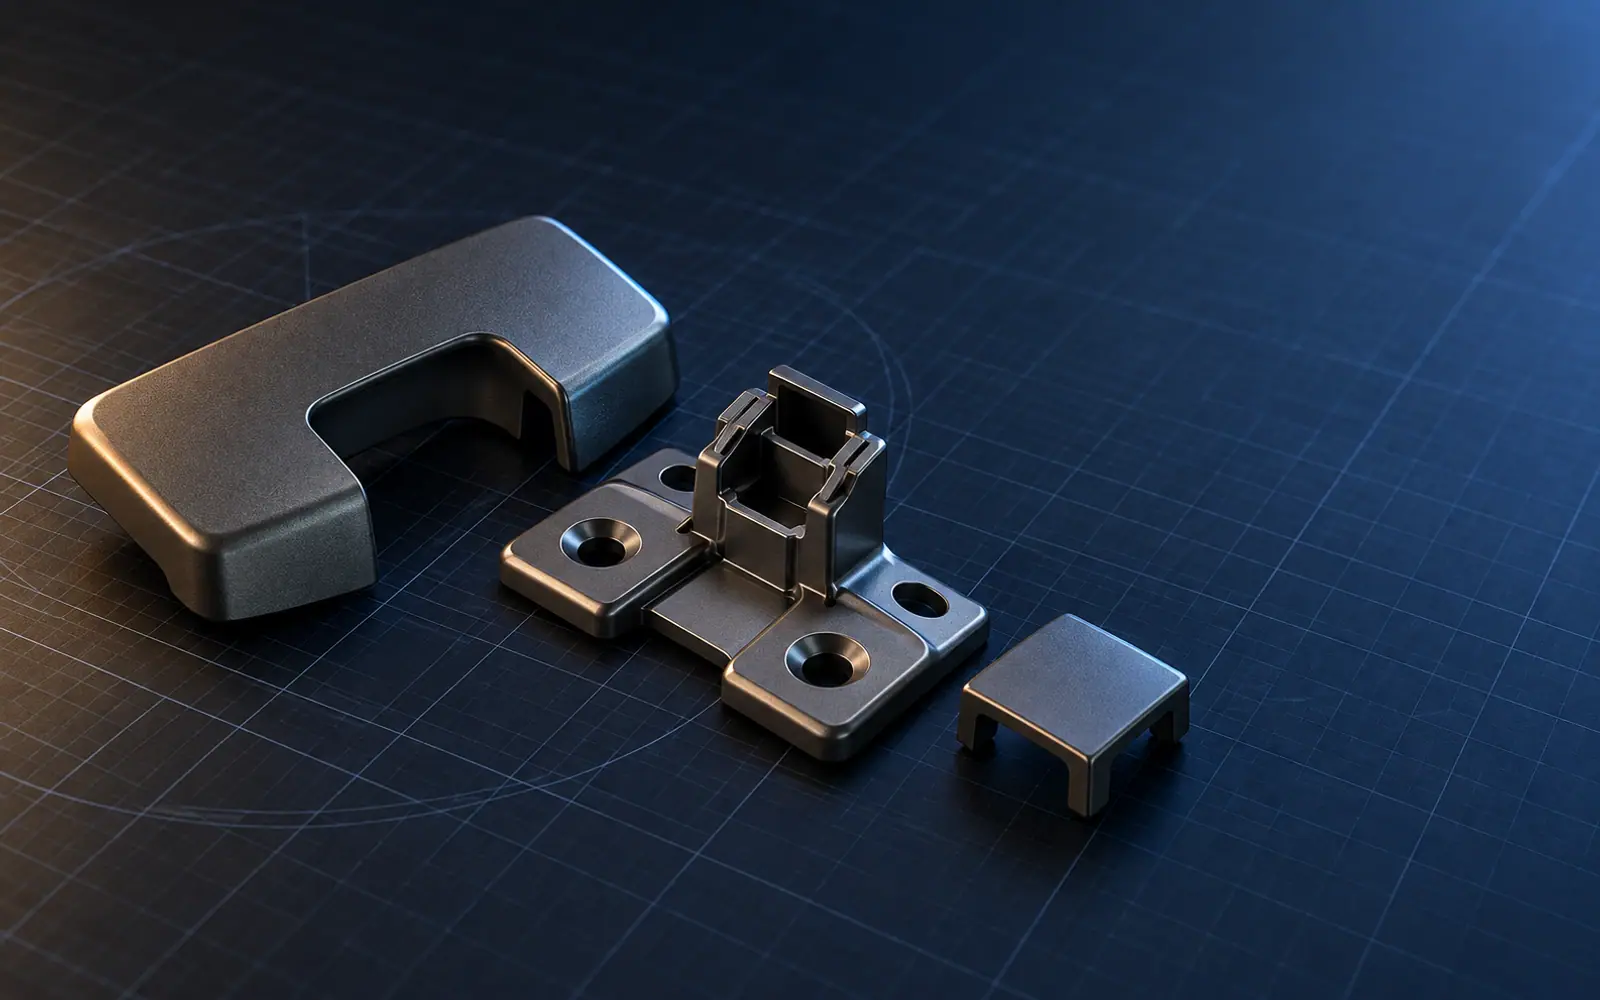
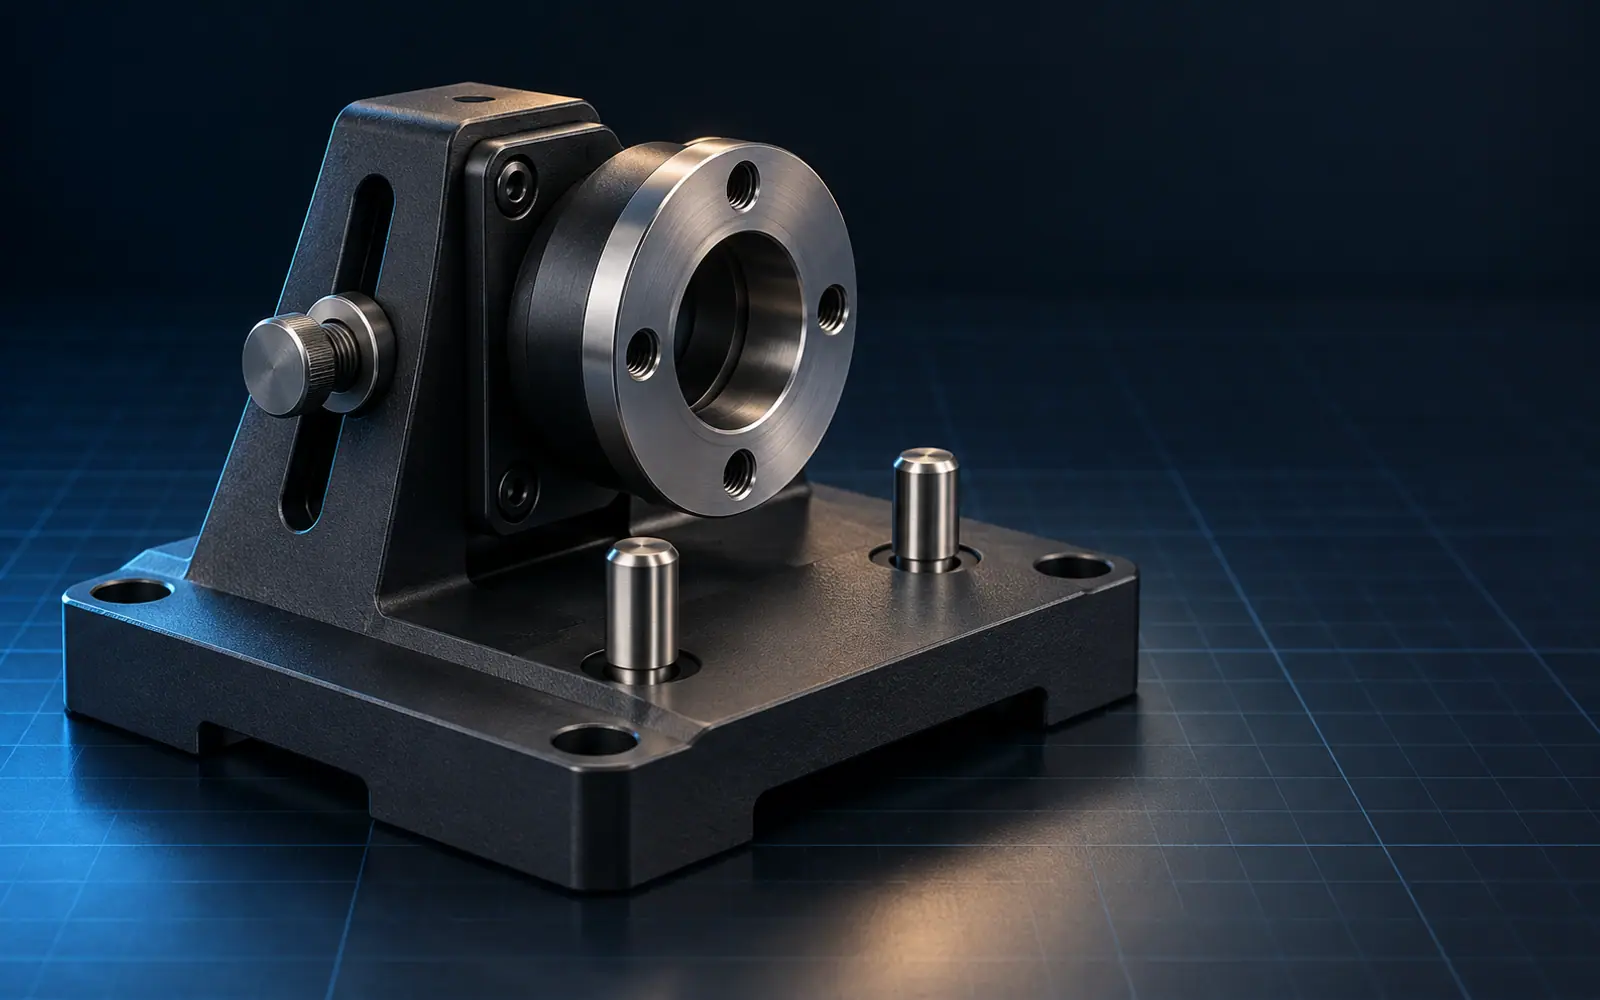
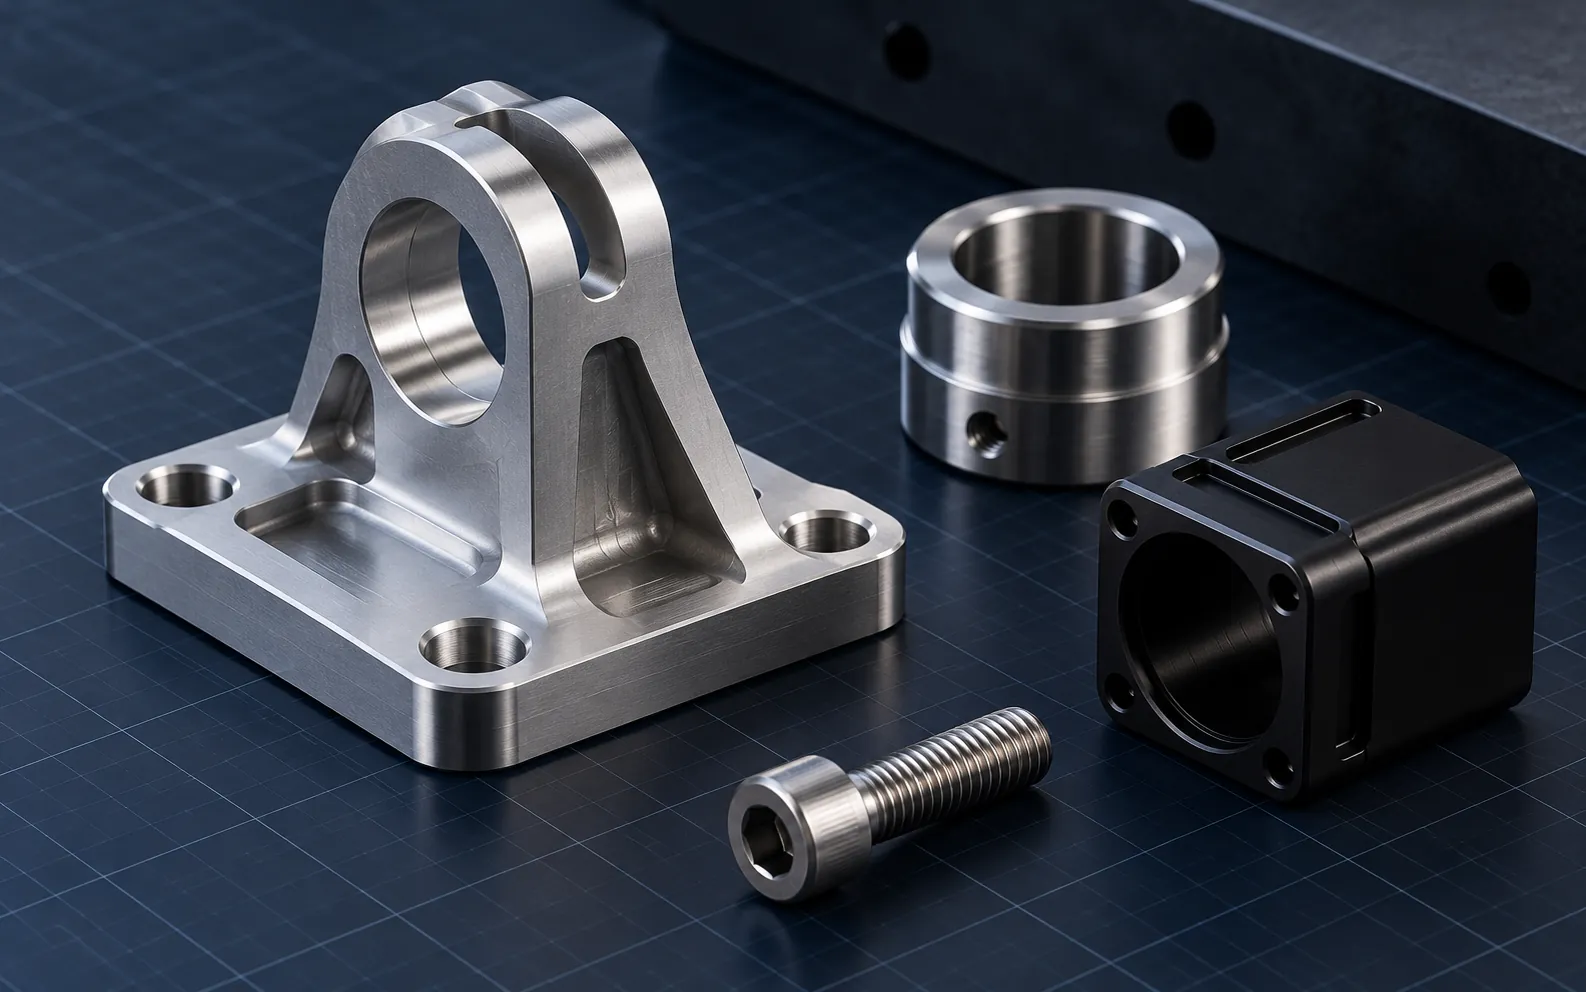
See the kind of object we can help bring into the real world.
Choose a starting point, understand the route from reference to delivery, then send the project when you are ready.
How it works
Six steps, in the order they happen
Nothing is printed and nothing is finalised until you have seen the model and approved it.
Upload
Send photos, a sketch, a broken part, an STL, or a written description. It does not need to be tidy or complete.
Review
We look at what you sent and tell you whether it is enough to model from, and exactly what else is needed.
Quote
You get a project price for the modelling, and a separate figure if you also want the part printed.
Model
We build the model to the dimensions and to the print process. You see it before anything is produced.
Verify
Wall thickness, overhangs, clearances and watertightness are checked. A model that cannot print is not finished.
Print / Deliver
Optional. We print, inspect and ship the prototype — or you take the files and print them yourself.
The most common job
A part broke and nobody sells it any more
Discontinued equipment, obsolete fittings, and parts that only ever existed inside one machine: this is where 3D modelling pays for itself fastest, because the alternative is replacing the whole assembly.
- Broken part — photograph it where it broke, and keep every piece, including the fragments you think are too small to matter.
- Measurements — measure the parts it has to fit against, not only the broken one. The interface decides whether the replacement works.
- CAD — the model is built to those interfaces, with wall thickness and reinforcement where the original failed.
- Prototype — printed and test-fitted before anything else is decided on.
- Replacement — revised from the test fit, then handed over as files or printed in the quantity you need.
Optional next step
Modelling first. Printing if you want it.
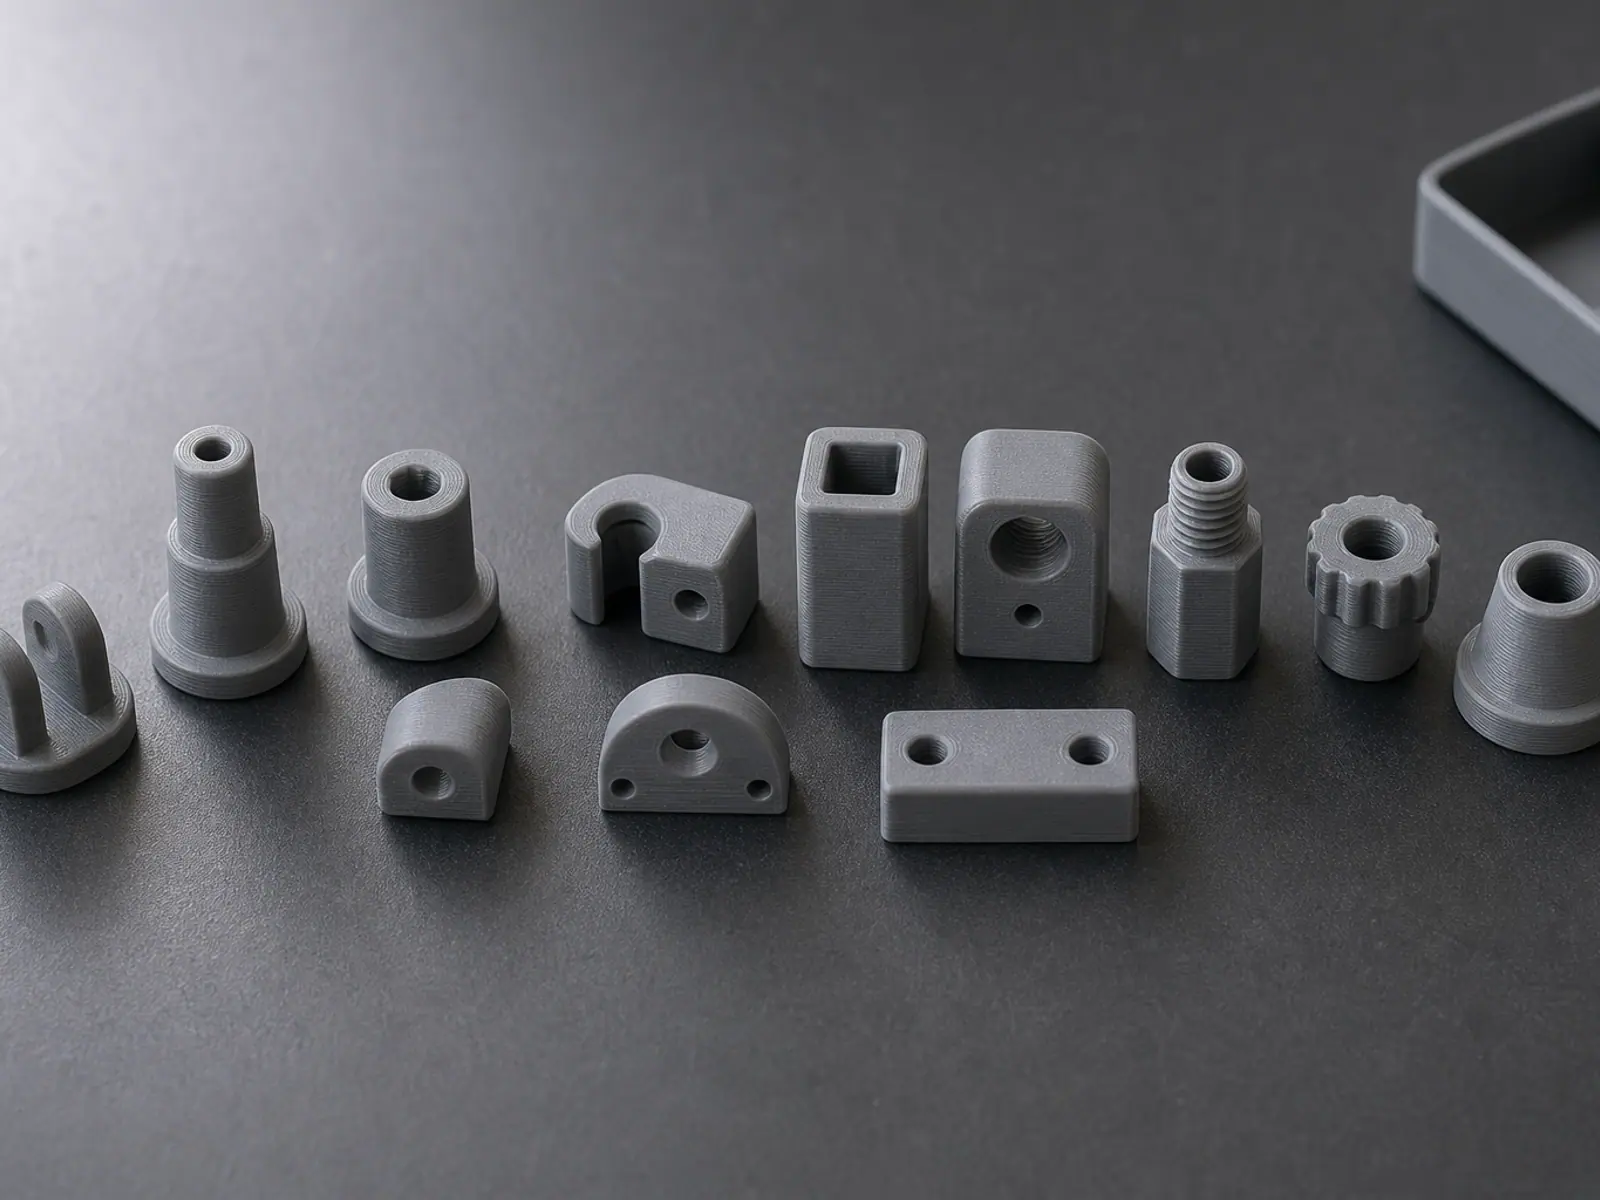
The model is the deliverable. If you also want a physical part, we can print a prototype, a functional part, or a small batch — but there is no obligation to print with us, and no reason to print before the model is right.
Printing is an optional next step after the model is right. We are not a print farm, and the model is what you are actually buying — the printed part is how you check it.
Pricing
How a project gets priced
Modelling starts at $100. Everything above that depends on the part, not on a rate card — which is why we quote per project instead of publishing a table that would not apply to your case.
Multi-part models, multi-module assemblies, reverse engineering, complex surfaces, color preparation, rendering, engineering consultation, prototype printing and production are quoted separately.

Project examples
How each project is documented
Every completed project is photographed the same way, so the result can be judged instead of described: the broken part, the CAD model, the printed part, and the part installed.
We publish a project only with the customer's written permission, and only with the real photographs and real numbers. Until those are cleared, this section shows the format with clearly illustrative visuals rather than stock images or invented results.

Before you write
Questions we get before the first project
If your question is not here, ask it — the answer is free.
Frequently asked questions
Do I need a CAD file to start?
What if my photos or sketch are wrong?
Can you model a part you have never seen in person?
How much does a model cost?
Can you also print and ship the part?
Will my design stay confidential?
Send what you have. We will tell you what is missing.
A photo, a sketch with two dimensions, or a sentence describing what the part has to do is enough to get a real answer instead of a form letter.